Quick Start Guide
You’ll be up and running on your desktop in about 10 minutes!
1. Install Docker Desktop.
If you haven’t already, download and install Docker Desktop. This will also install Docker Compose.
2. Clone the Repository.
Open your terminal (command prompt) and run the following commands:
git clone https://github.com/smarter-sh/smarter-deploy.git
cd smarter-deploy
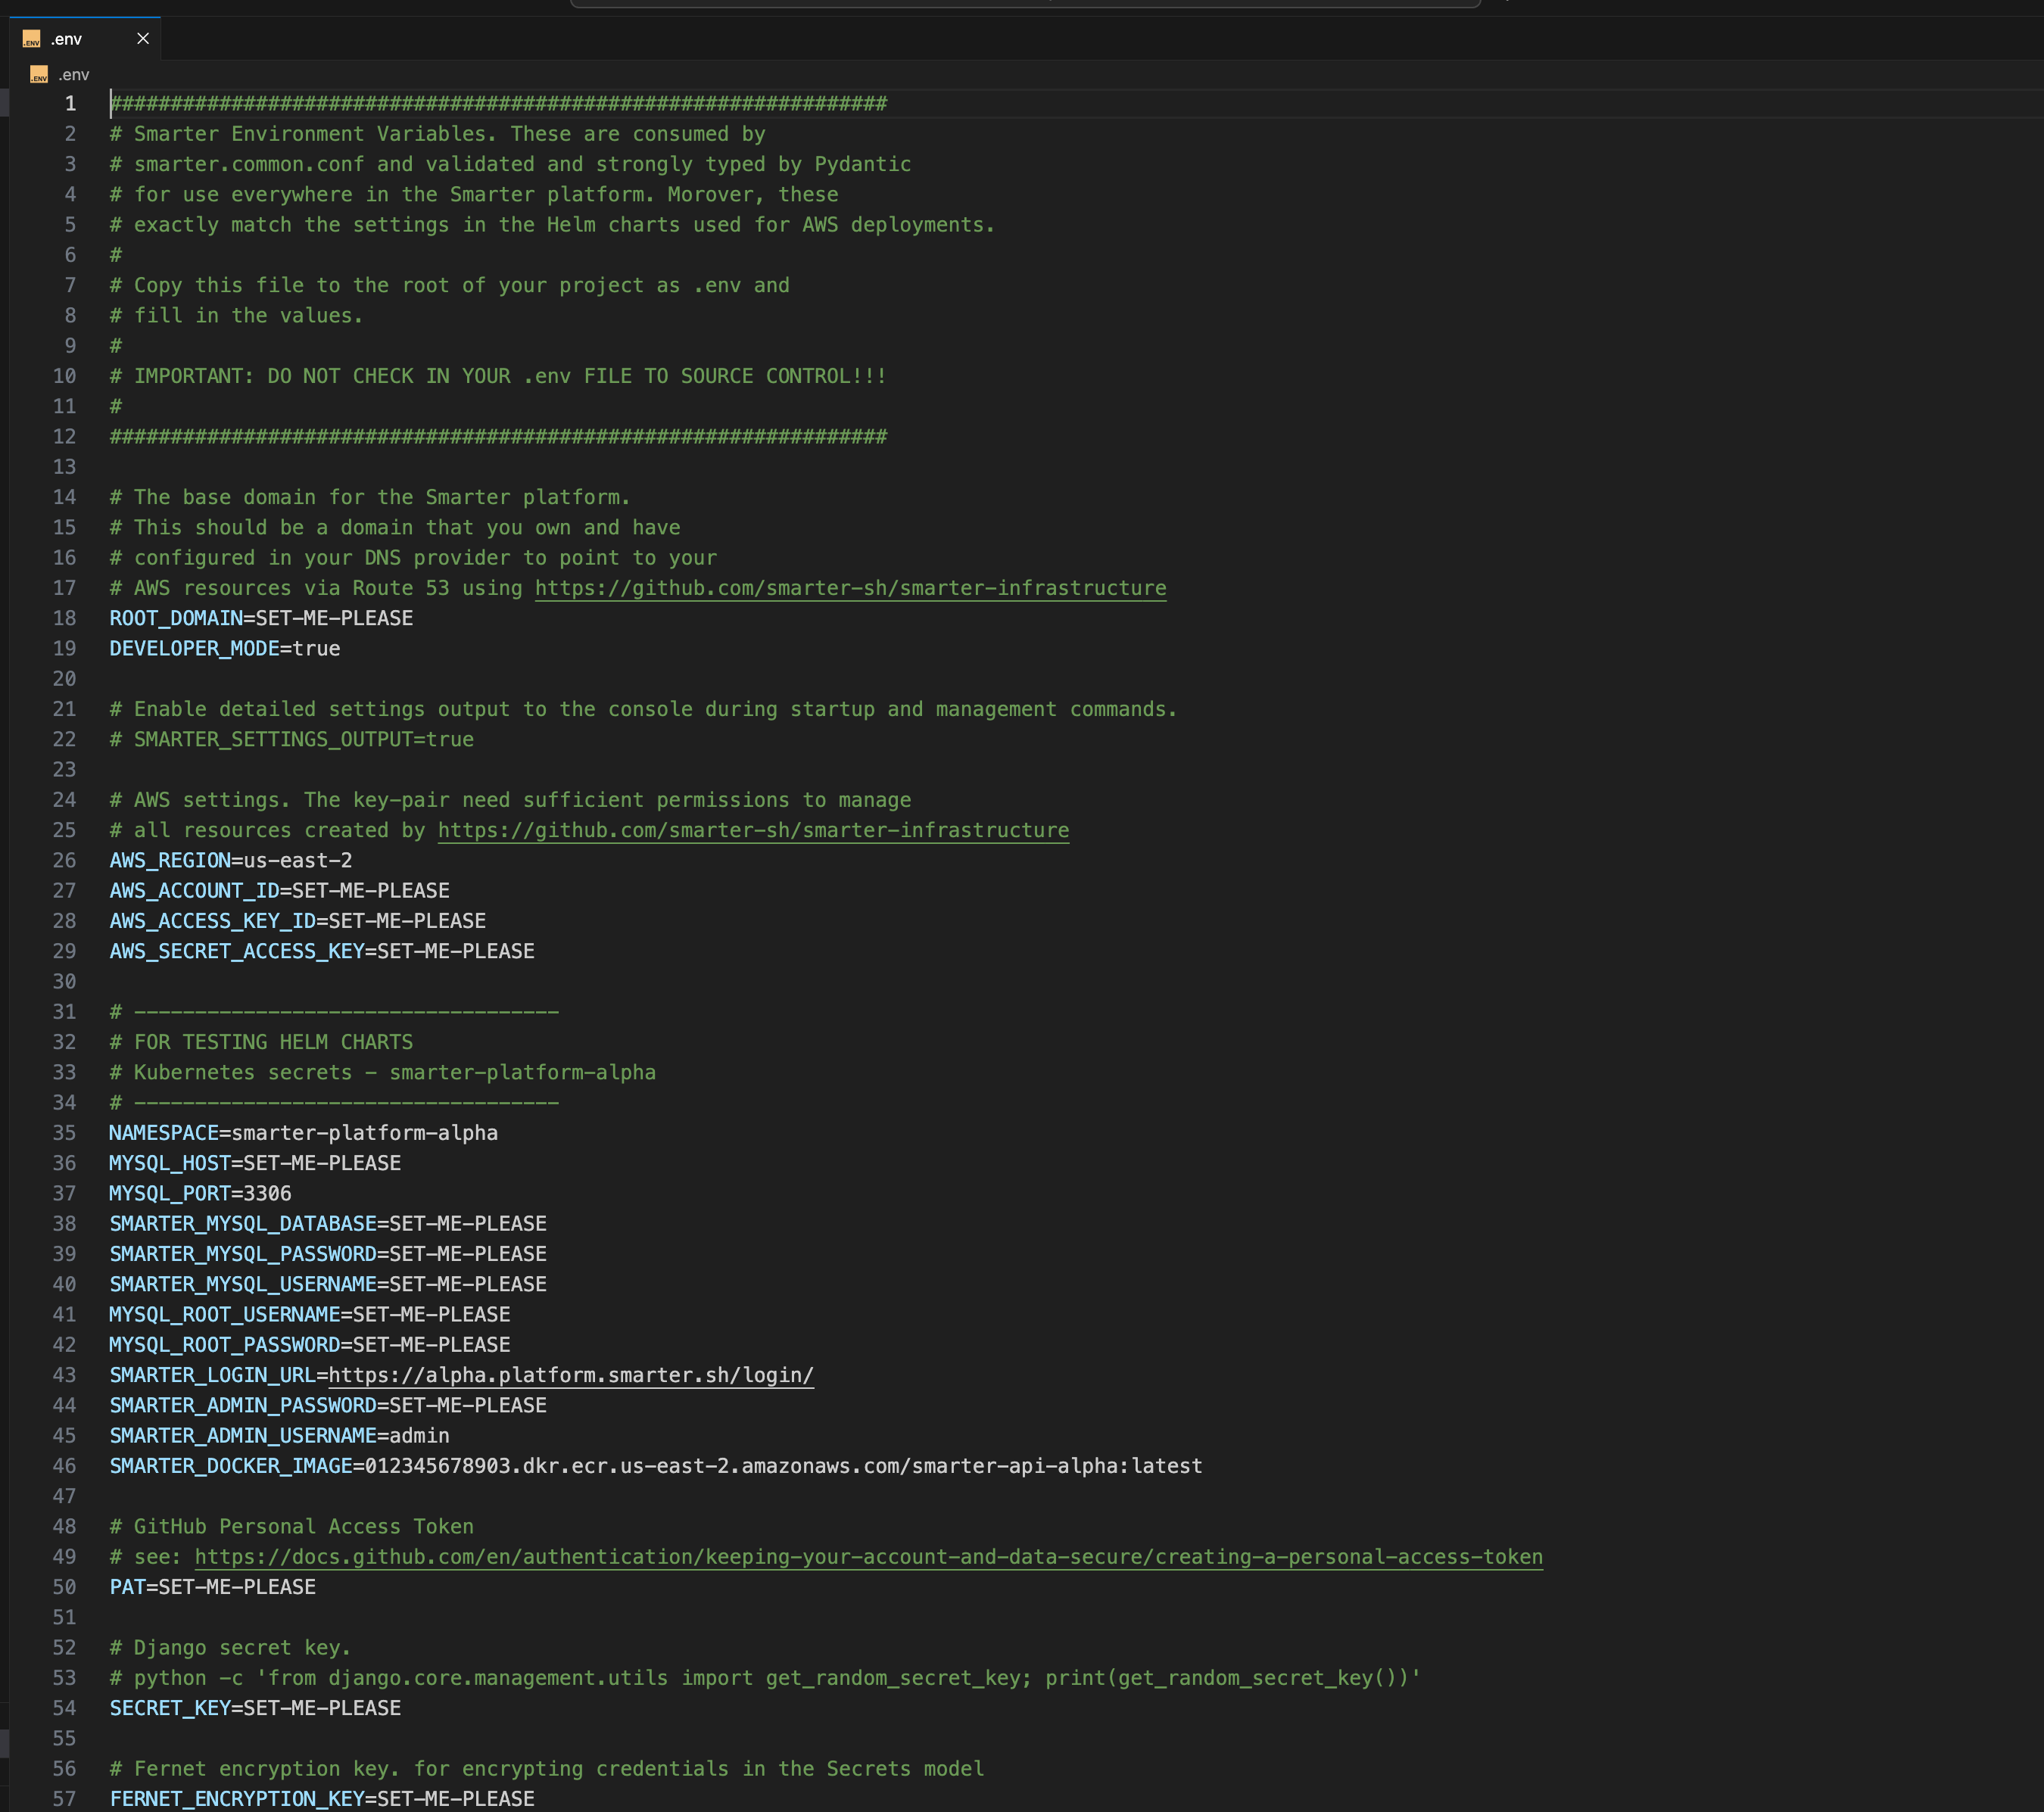
3. Prepare Your Environment File.
Smarter requires a .env file with your credentials and configuration. You can scaffold a template using the following command:
make # creates a .env file in the root of the repo
Important
Open the newly created .env file and add your credentials (API keys, passwords, etc.) as needed. The application will not run without this step. Note that .env contains copious inline documentation that you can refer to for specific configuration and technical guidance.
4. Initialize the Application.
This step pulls the Docker containers, and seeds the platform with test data:
make init
5. Start the Application.
Run the following command to start all Docker containers and launch the web server:
make run
The web console will be available at: http://127.0.0.1:9357/ or http://localhost:9357 If you see a login screen, your deployment is working!
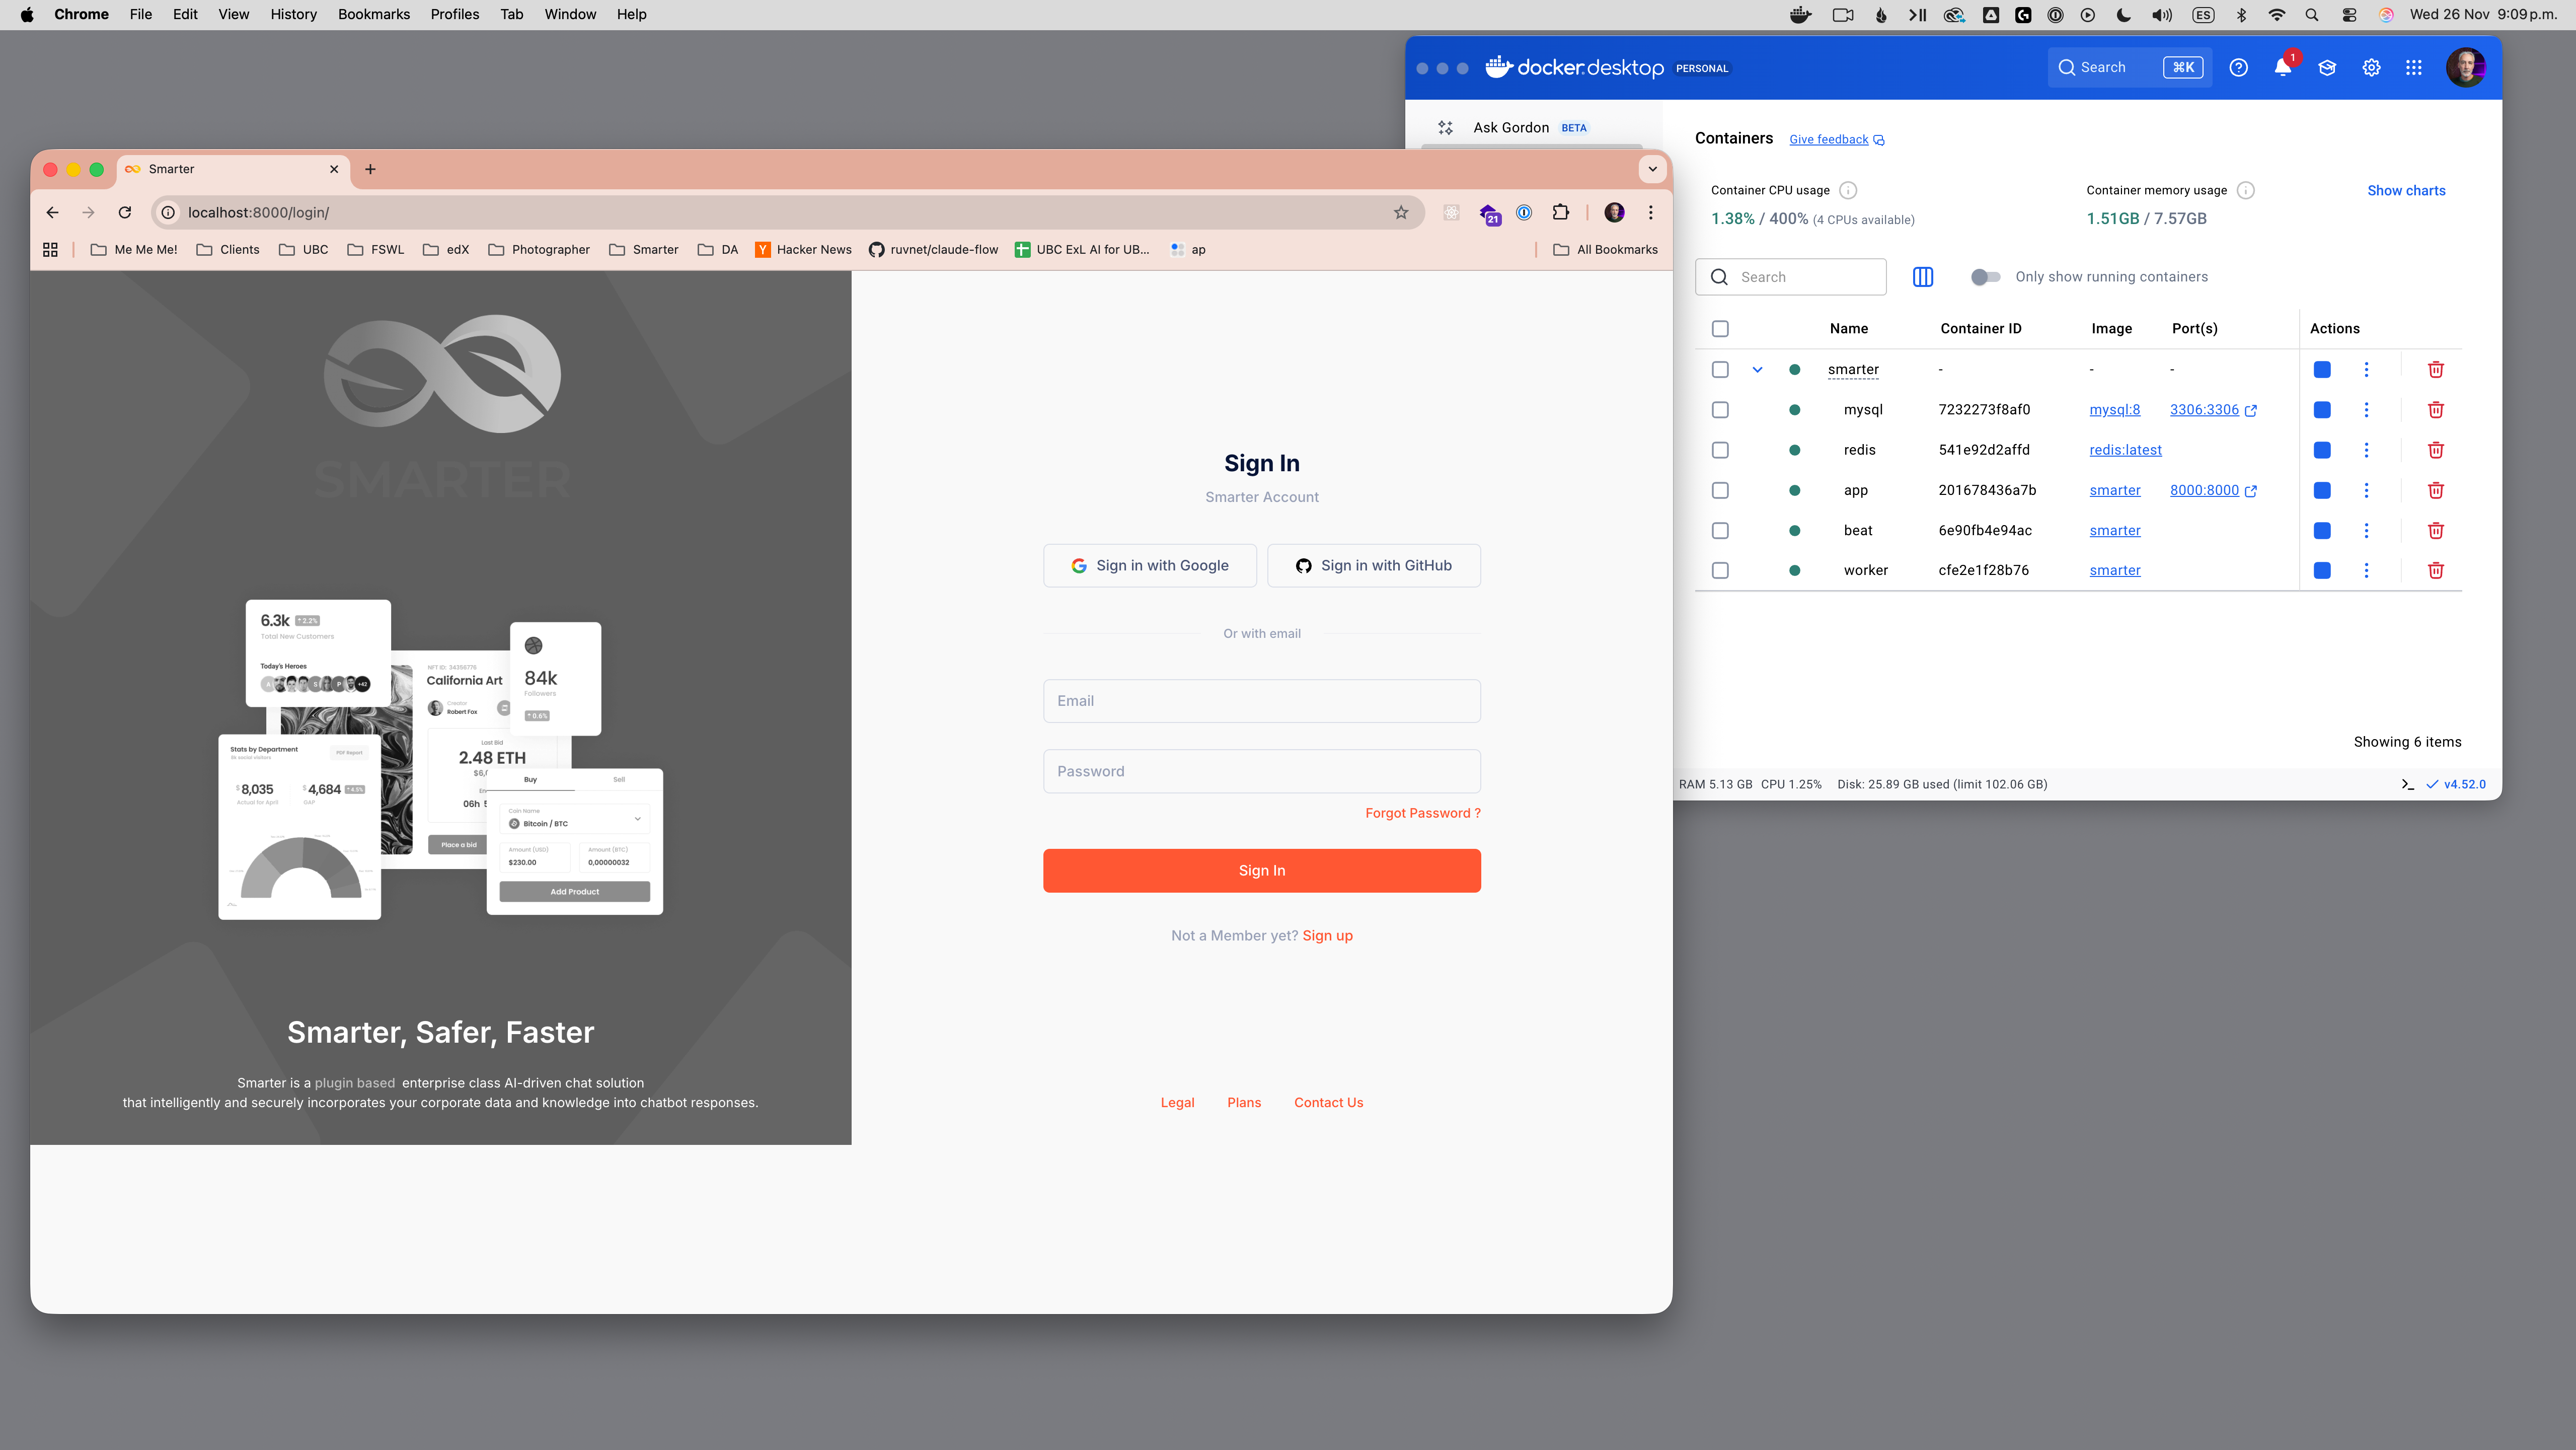
6. Log In.
Go to http://localhost:9357/login/ and log in with:
Username: admin@smarter.sh Password: smarter
Attention
For security reasons, be sure to change the default password after your first login.
7. Download the Smarter Command-Line Interface.
You’ll need to download, install and configure the cli in order to manage AI resources. Get the cli here: smarter.sh/cli.