How-To: Adding an LLM Provider to Smarter
Goal
Register an LLM provider with Smarter so its models are available for use in llmclients and the Workbench.
Supported Providers
Smarter supports two categories of LLM providers.
Built-in providers are pre-initialized automatically during deployment.
You only need to supply the API key in .env:
Provider |
Environment Variable |
API Key Console |
|---|---|---|
OpenAI (required) |
|
|
GoogleAI |
|
|
MetaAI |
|
Additional providers require both an API key in .env and a
Provider manifest applied via the CLI:
Provider |
Environment Variable |
API Key Console |
|---|---|---|
Anthropic |
|
|
Cohere |
|
|
Fireworks |
|
|
Mistral |
|
|
TogetherAI |
|
Prerequisites
Smarter v0.11.0 or later, running and accessible.
Administrator-level account with access to the web console.
Smarter CLI installed. See Smarter CLI.
A text editor. VS Code with the Smarter YAML extension is recommended.
Setup
The following walkthrough uses Anthropic as the example. The same steps apply to any additional provider — substitute the appropriate environment variable and provider name from the table above.
Step 1: Get an API Key
For Anthropic:
Sign in at https://console.anthropic.com/.
Navigate to Settings → API Keys → Create Key.
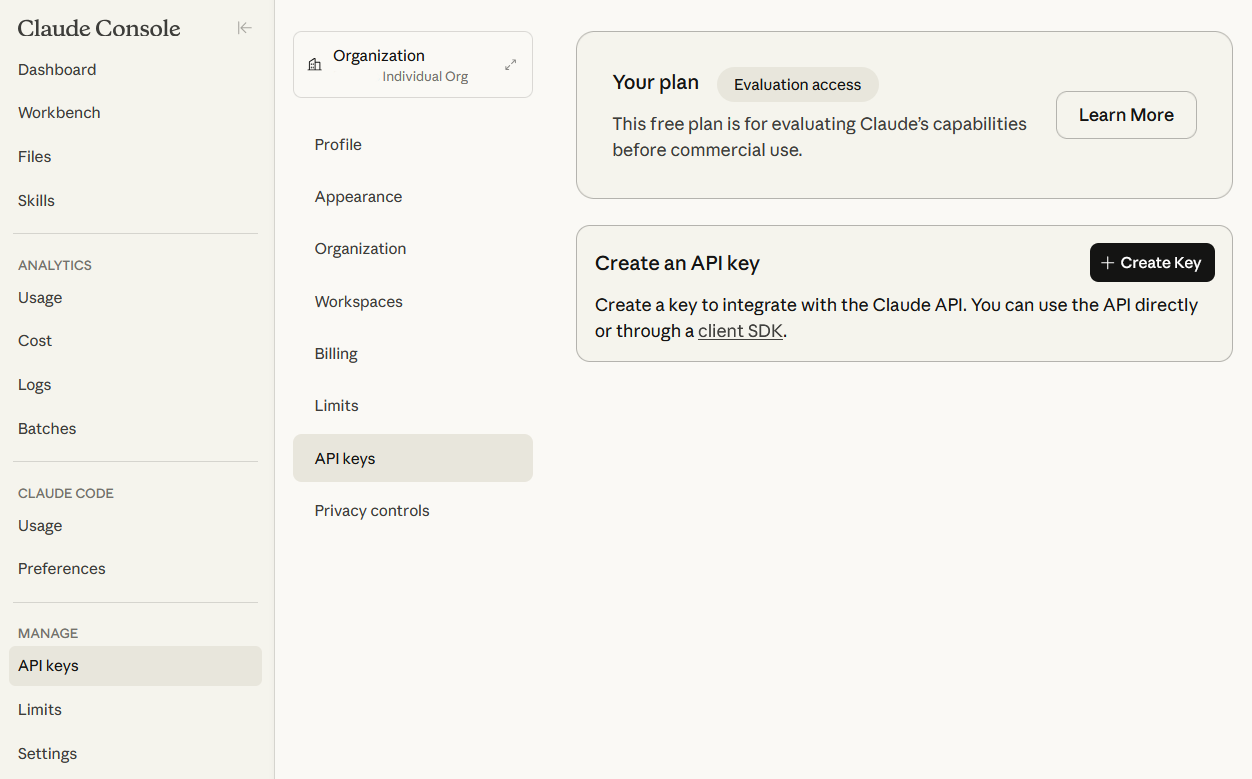
Anthropic Console API Keys
Give it a descriptive name (e.g.
smarter-napl-prod) and copy the value immediately — it will not be shown again.
Danger
Never commit API keys to version control.
Step 2: Add the Key to Smarter
Open the .env file at the root of your Smarter deployment and add:
SMARTER_ANTHROPIC_API_KEY=sk-ant-xxxxxxxxxxxxxxxxxxxxxxxxxxxxxxxx
Restart the application to load the new credential:
make restart
Concept Overview
Smarter manages every resource — providers, llmclients, plugins — the same way: a YAML manifest you write and apply via the CLI. This pattern is deliberately modeled on Kubernetes. These files are called SAM (Smarter API Manifests).
A Provider manifest has four sections:
apiVersion: Alwayssmarter.sh/v1.kind: Set toProvider.metadata: Name, description, and version of this resource.spec: The provider configuration — which backend, which model.
When you apply the manifest, Smarter registers the provider and immediately runs verification: it calls the provider’s API, confirms the model is reachable, and marks the provider active.
Note
Built-in providers (OpenAI, GoogleAI, MetaAI) are registered automatically
during deployment and do not require a manifest — only their SMARTER_*
environment variable.
Step-by-Step: Create and Apply a Provider Manifest
Step 3: Generate a Starting Template
smarter manifest provider
This prints a valid example manifest. Use it as a reference while writing your own.
Step 4: Write the Provider Manifests
Create one manifest per model. This example registers both Claude Opus and Claude Sonnet so you can compare their responses side-by-side in the Workbench.
anthropic-opus.yaml — higher capability, best for complex reasoning:
apiVersion: smarter.sh/v1
kind: Provider
metadata:
  name: anthropic-opus
  description: Anthropic Claude Opus 4 — high-capability model for NAPL
  version: 1.0.0
spec:
  provider:
    name: anthropic
    model: claude-opus-4-5
anthropic-sonnet.yaml — faster and more cost-efficient:
apiVersion: smarter.sh/v1
kind: Provider
metadata:
  name: anthropic-sonnet
  description: Anthropic Claude Sonnet 4 — balanced speed and quality for NAPL
  version: 1.0.0
spec:
  provider:
    name: anthropic
    model: claude-sonnet-4-6
Note
Model identifiers are case-sensitive and must match the provider’s published
names exactly. For the full spec field reference, see
Smarter API Manifests (SAM).
Step 5: Apply Both Manifests
smarter apply -f anthropic-opus.yaml
smarter apply -f anthropic-sonnet.yaml
Smarter registers each provider and begins verification checks automatically.
Step 6: Confirm Both Providers are Active
smarter describe provider anthropic-opus
smarter describe provider anthropic-sonnet
Look for a status section in each output showing that verification has
passed. If it shows pending, wait 30 seconds and run the command again —
the verification checks are asynchronous.
You can also confirm in the web console: Providers in the left sidebar
should list both anthropic-opus and anthropic-sonnet with active status.
Tip
With both providers registered, you can create two llmclients — one backed by each model — and compare their responses to the same prompt in the Workbench. This is a practical way to evaluate cost vs. quality trade-offs before committing to a model for production.
Proof of Concept
Run:
smarter describe provider anthropic-opus
smarter describe provider anthropic-sonnet
Both outputs should include a status block with verified: true. That
means Smarter has confirmed a live connection to the provider API and both
models are ready to use.
Expected output for each provider:
apiVersion: smarter.sh/v1
kind: Provider
metadata:
  name: anthropic-opus
  description: Anthropic Claude Opus 4 — high-capability model for NAPL
  version: 1.0.0
spec:
  provider:
    name: anthropic
    model: claude-opus-4-5
status:
  verified: true
  active: true
  last_verified: "2026-03-31T00:00:00Z"
Troubleshooting
- Startup error: “API key not found”
The
SMARTER_*_API_KEYvariable is missing from.envor the application has not been restarted. Runmake restart.- Provider status: “verification failed”
The API key is invalid or has been revoked. Generate a new key at the provider’s console and update
.env.- Apply error: “Model not found”
The
modelvalue in your manifest does not match the provider’s published identifier. Model identifiers are case-sensitive.- Manifest validation errors
YAML indentation is almost always the cause. Run
smarter manifest providerto compare your file against a known-good template.