Production Deployment
Attention
This is a complex deployment process that requires advanced knowledge of Linux, Docker, Kubernetes, Helm, Terraform, AWS cloud infrastructure, Python-Django applications, and GitHub Actions. Consider using one of our recommended hosting partners, or a certified installation expert.
Note
Before beginning production deployment, you should have already installed your production AWS cloud infrastructure using the Smarter Official Terraform Modules.
Smarter runs natively on Kubernetes using spot-priced compute instances. This is a cost-effective, resilient, and scalable architecture that requires minimal maintenance once deployed. It natively handles multiple environments (alpha, beta, next, prod) for the same installation, maintaining clean separation of resources and data between environments. It also natively handles multiple installations of Smarter (ie multiple EKS clusters) within the same AWS account.
Production deployment involves the following steps:
Build AWS Infrastructure using the Smarter Official Terraform Modules.
Deploy the Smarter Platform to your Kubernetes cluster using the Official Smarter Helm chart.
The web console’s React apps, including Smarter Chat, the chat of the Prompt Engineer Workbench, are built into the Smarter Docker image’s static files, so they need no separate deployment.
A modest amount of advance planning and an understanding of some basic organizational principles within Smarter will save you time and heartache. Smarter’s fundamental identification and organizational units are as follows:
root_domain |
This is the root domain that you will use for your Smarter deployment. For example, if you want to access your Smarter instance at “platform.example.com”, then your root domain would be “example.com”. This value is used in both Terraform and Helm configurations, and it affects the naming of various resources such as DNS records and Hosted Zones. |
platform_name |
Default is “smarter”. Ensure that this matches in both Terraform and Helm configurations. Within the Smarter Platform application, the platform_name is derived from the root_domain by taking the first segment. For example, if your root domain is “example.com”, then the platform_name will be “example”. |
shared_resource_identifier |
Default is “platform”. Ensure that this matches in both Terraform and Helm configurations. Consider using a unique identifier such as your organization’s domain name or abbreviation to avoid naming ambiguities with other Smarter deployments in your AWS account. |
Environment |
One of “alpha”, “beta”, “next”, or “prod”. This is managed entirely inside the application, but affects the names of cloud resources including but not limited to DNS records and Hosted Zones that are created as part of normal platform operation. |
platform_region |
Default is “us”. Used exclusively inside of Terraform as part of naming high-level resources such as the EKS cluster, S3 buckets, SES resources, and more. Several environment variables in Helm are based on this value. |
These four organizational units are combined in various ways to create higher-level naming conventions for both cloud resources as well as application-level resources. Some examples:
Kubernetes namespaces are named using the convention
{platform_name}-{shared_resource_identifier}-{environment}which by default would be ‘smarter-platform-prod’.
S3 buckets are named using the convention
{environment}.{shared_resource_identifier}.{root_domain}which by default would be ‘alpha.platform.example.com’.
EKS clusters are named using the convention
{platform_name}-{shared_resource_identifier}-{platform_region}-{{unique_id}}which by default would be ‘smarter-platform-us-{{unique_id}}’.
k8s namespaces are named using the convention
{platform_name}-{shared_resource_identifier}-{environment}which by default would be ‘smarter-platform-prod’.
IAM roles are prefixed with
{platform_name}-{shared_resource_identifier}-{platform_region}which by default would be ‘smarter-platform-us’.
Within the Smarter application itself, these organizational units are combined to create higher-level organizational units. Examples:
environment_namespaces are named using the convention
{platform_name}-{shared_resource_identifier}-{environment}which by default would be ‘smarter-platform-prod’.
environment_platform_domain is named using the convention
{environment}.{shared_resource_identifier}.{root_domain}which by default would be ‘alpha.platform.example.com’.
CDN domains are named using the convention
cdn.{environment}.{shared_resource_identifier}.{root_domain}which by default would be ‘cdn.alpha.platform.example.com’.
API domains are named using the convention
{environment}.api.{shared_resource_identifier}.{root_domain}which by default would be ‘alpha.api.platform.example.com’.
Example Kubernetes Deployment
I. Infrastructure
The entire AWS infrastructure build is fully automated using Terraform and Terragrunt scripts. You should begin by reviewing the following documentation:
README at Smarter Infrastructure.
Makefile. This Makefile provides working shortcuts for all major operations. You should at least cursorily review these in order to ensure that you understand the basic intention of the Terraform scripts.
.env.example. The Terraform scripts in this repo use environment variables for all configuration values. You should not need to fork nor modify the code in this repo. The Makefile provides a shortcut for getting this setup correctly.
Note that this repo uses Terragrunt, a higher level wrapper around Terraform that provides an ability to manage multiple environments and multiple deployments with the same codebase. Make sure that you understand the basic principles of how Terragrunt works, and how it is being used in this repo, before proceeding.
Warning
Do not attempt to circumvent the official Terraform scripts. The cloud infrastructure is complex and has many interdependencies that would be difficult if not impossible to manage manually. Additionally, the Terraform scripts create a detailed set of resource tags that are the sole means of effectively tracking these resources inside your AWS account once they’ve been created.
II. Smarter Platform Application
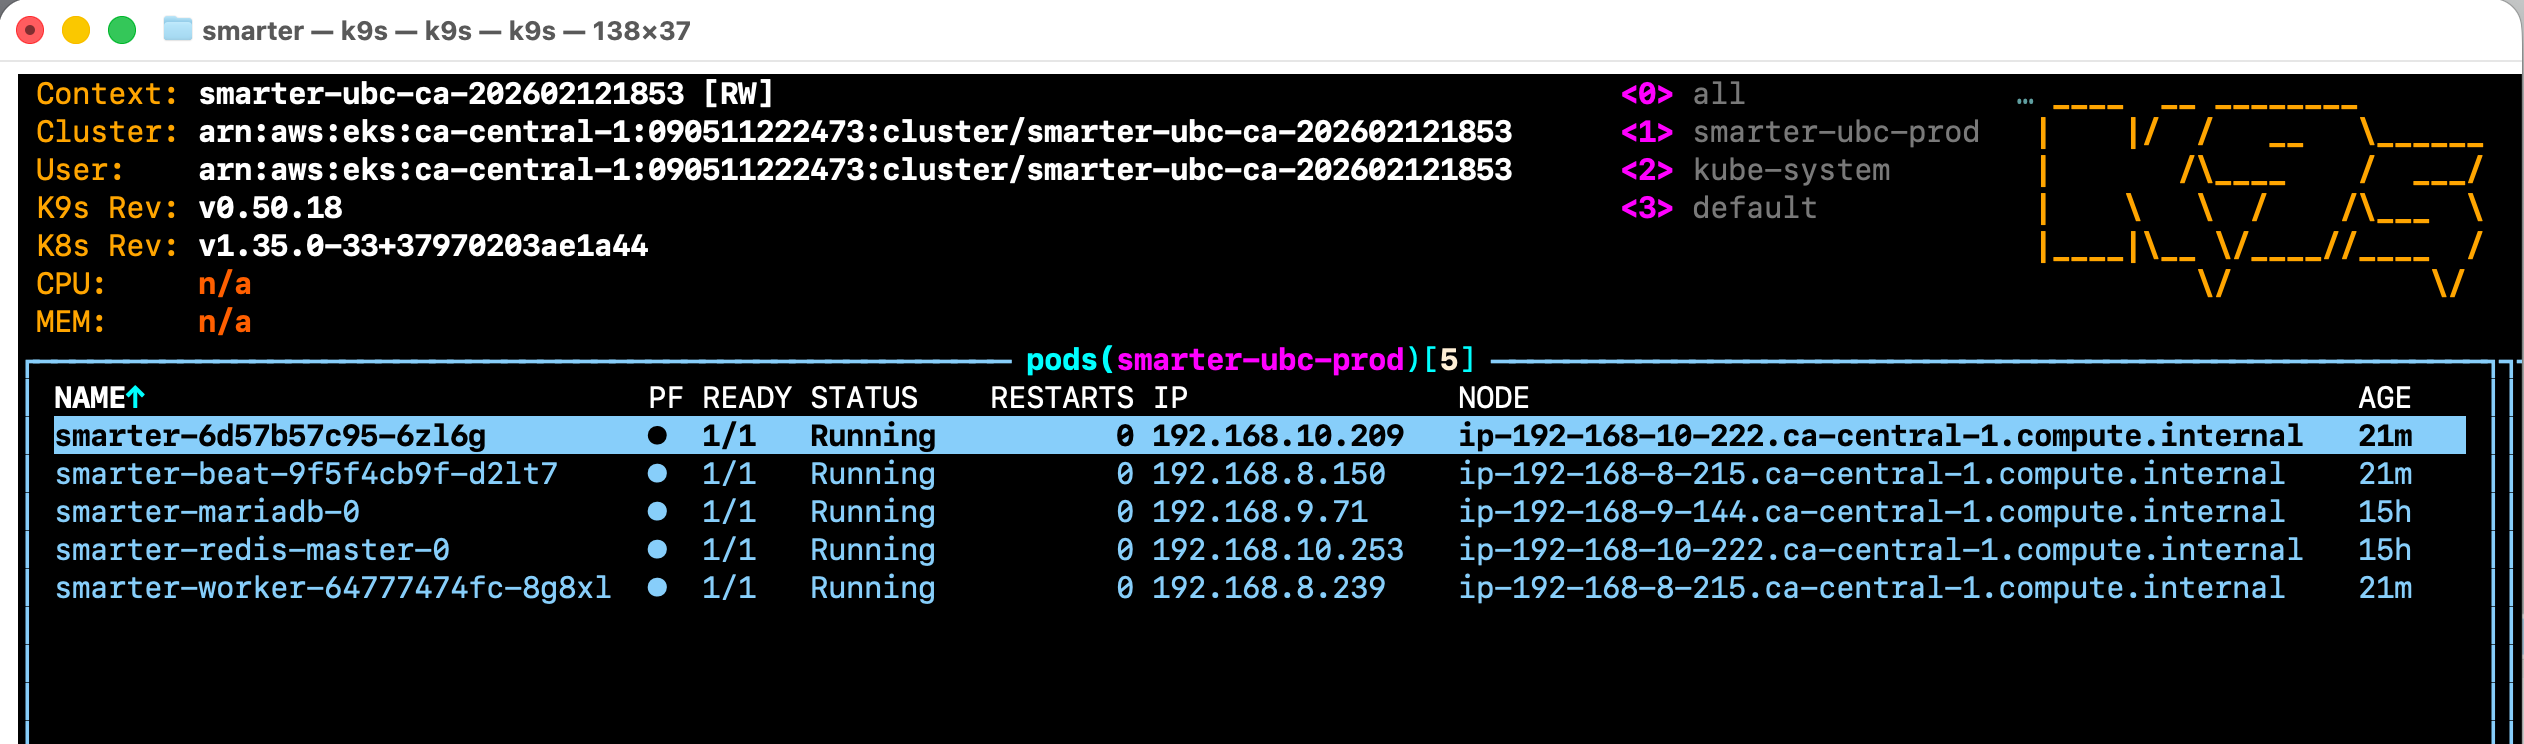
The Smarter Platform application is deployed to Kubernetes using the official Helm chart. The application itself consists of a Python-Django backend that supports an API and a Web Console frontend. This single code base is deployed to Kubernetes as an application server, two Celery workers, and a Celery Beat worker. One Celery worker runs the operational tasks, such as recording prompts and charges, and the other runs the infrastructure tasks, which deploy and verify DNS records, certificates and node groups, so that a deployment never delays the operational tasks. See ADR-030. The application follows 12-factor app principles and is designed to be horizontally scalable and resilient to failure.
In most cases, you can deploy the Smarter Platform application using the official Helm chart with minimal configuration. However, you can optionally build and deploy from source, though this is out of the scope of this documentation.
Begin by reviewing the following documentation:
README at Official Smarter Helm chart.
Values.yaml. This file contains the comprehensive set of configuration values for the Helm chart. These cover not only configuration of the application itself, but also all backing services and deployment options. Note that there are multiple options for the Database backend, including pod-based Mysql and MariaDB, and remote AWS RDS.
(Optional) Source code. You might find some of the source code helpful for understanding how to configure the application. Of interest are the Django settings files, the Smarter Settings module, the Smarter Settings documentation, the Python requirements, and the Dockerfile.
Important
1. You will need to create your own Deployment workflow. You can use the Smarter GitHub Actions Deployment workflow and Smarter GitHub Deployment Action in the official Smarter repo as a reference, but you should not attempt to use it directly unless you have forked the Smarter repo. The deployment workflow depends on a number GitHub Secrets that you must configure in your own GitHub repository. If possible, see Smarter Settings - Secrets.
2. You will need an AWS IAM key-pair with sufficient permissions to deploy the application to your Kubernetes cluster. At a minimum, this key-pair will need complete control of the EKS service, in addition to permissions to create and manage the various resources that the application depends on such as EC2 instances, EBS volumes, S3 buckets, SES resources, and more.
Trouble Shooting
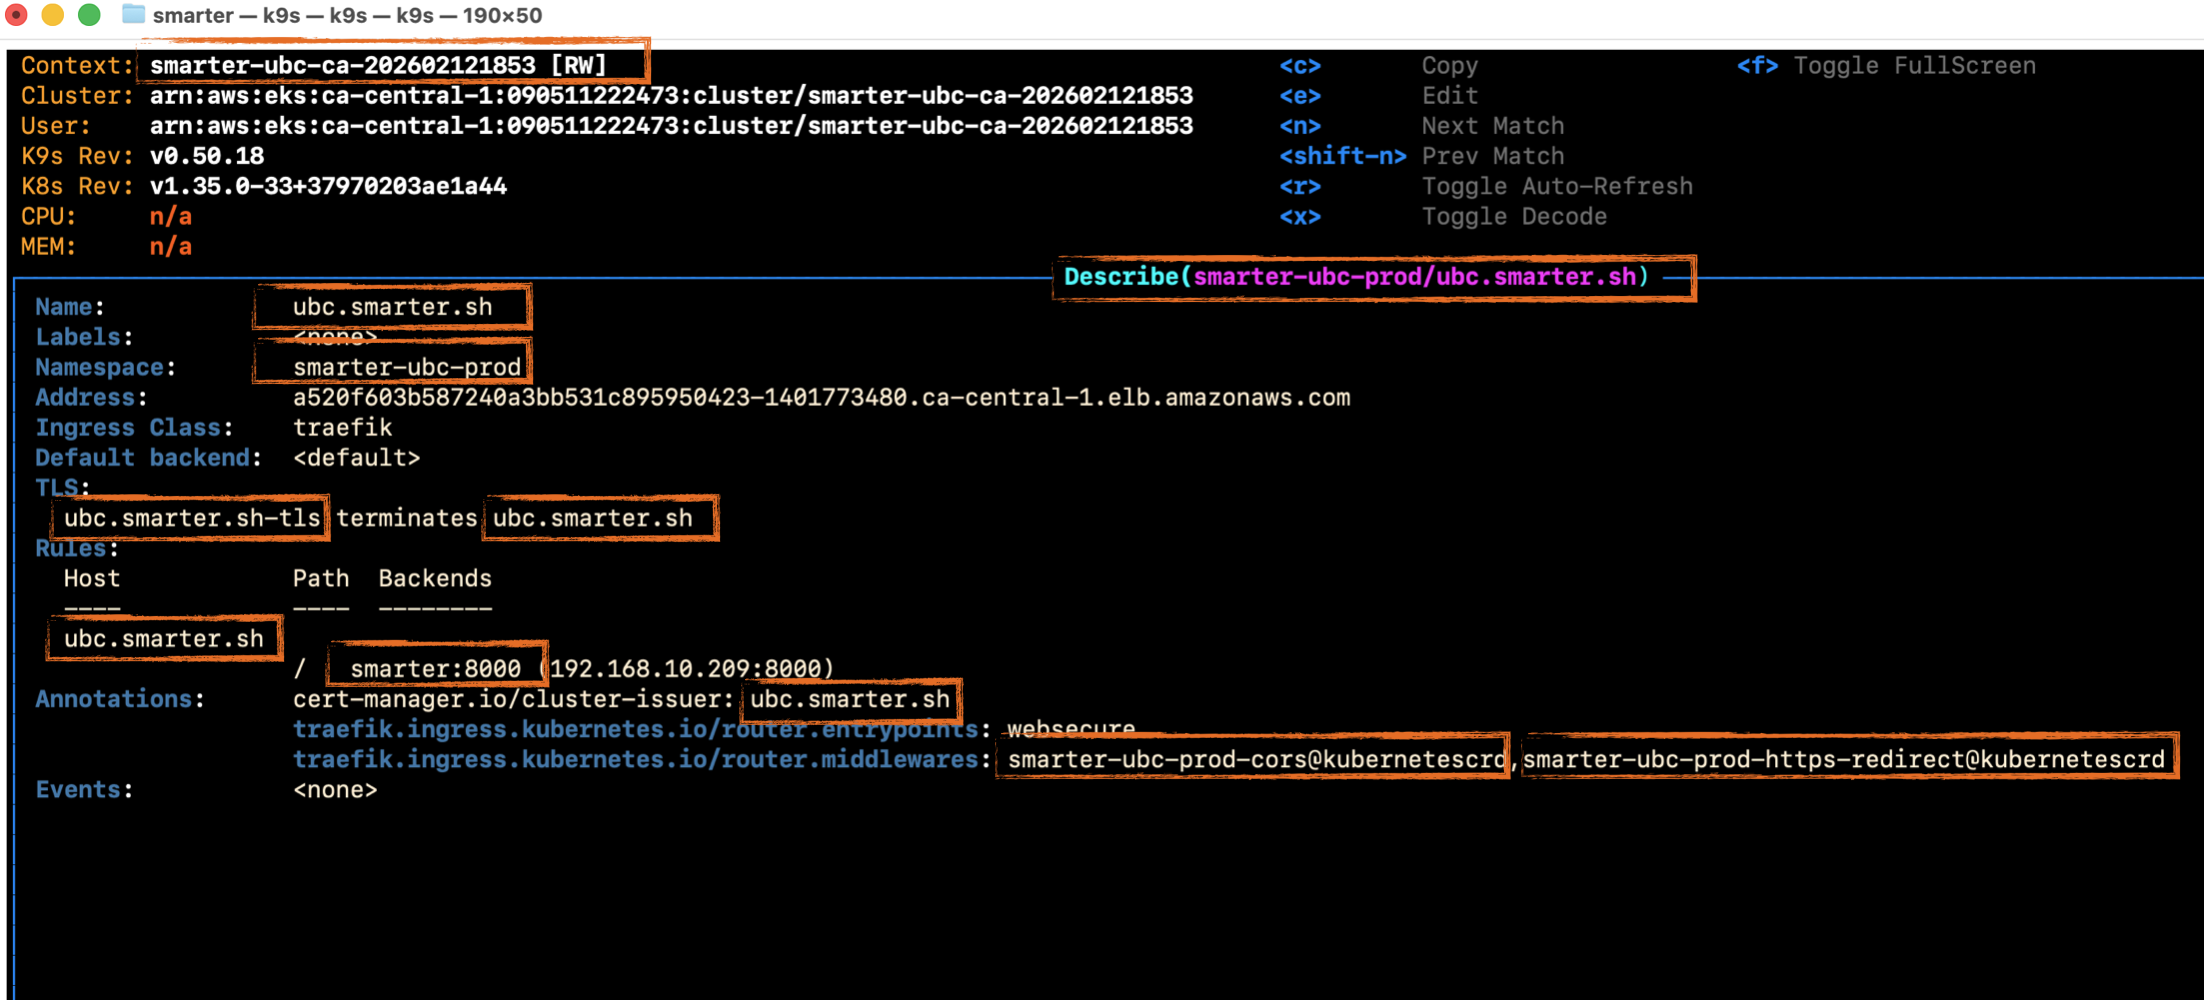
Permissions and naming are the two most common sources of deployment-related problems. Consider the example Kubernetes Ingress manifest below. It contains eleven references, created by either of Terraform or the Smarter Platform application itself. These names have to agree, and must be able to “hand shake” as necessary between Kubernetes and the Smarter Platform application.